
How to set up Jivochat for a multilingual website
You can set up language selection on a website with multiple languages by following one of these two methods:
Method 1. Manual language selection using the website tools.#
The main idea is to use different widget codes on the website. Every language should have it's own widget code generated.
First, you should add a different website channel in the JivoChat app for each existing language template on your website.
Access the JivoChat web app or any of our Desktop apps and go to Manage -> Channels, find and connect a "Live Chat" channel.

You can read more about how to add a website channel in our "How to add or delete a website" tutorial.
In the channel creation process, you may already choose which ready-to-use language you want the channel to be created with. If the language you want is not available in the list, you can manually translate the chat from any channel at any moment in the future.

In the end, you should have a few website channels — one for each language.

Next, if you didn't select the correct language in the channel creation or need to change the language, you should change the "chat window language" for these websites according to the website language.
The chat window language is changed in the following locations:
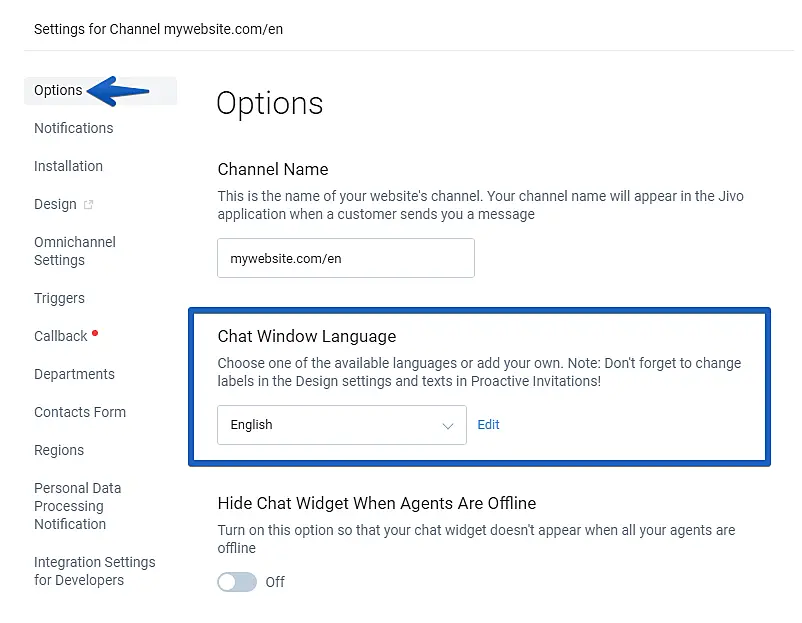
1.Click on "Settings" below a channel name and go to "Options" > Chat Window Language.
If you want to create a custom translation, click on "Edit" on the right side of the chat window language and create/customize your own translation.
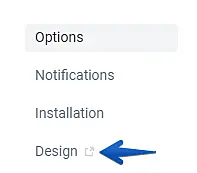
2.The "Design" section > Text

3.The "Triggers" section. You should change the text on each existing trigger. Just press the "Edit" button on each of them to do this. Don't forget to "Save" after changing the text.

When you finish editing the language for the website, you should place the widget code on the corresponding language version of your website.

For example, if you have 2 languages on a website - English and Portuguese. You have added two website channels in the app: mywebsite.com/en and mywebsite.com/pt. Now you should change the widget code with your website tools according to the visitor's language selection. If the visitor selects Portuguese, the website should load the code from the mywebsite.com/pt channel and vice-versa. To change the code, you can use different website templates for different languages or CMS plugins.
Method 2. Automatic language selection.#
You can use the "Regions" feature to change the chat language.
The principle is based on Geo IP - the chat detects the visitor's region by IP address and changes the language according to the settings. In this case, you will have only one installed widget code on all pages.
You can read more about the "Regions" feature in our tutorial here.
You should change the chat window language for each region created in the JivoChat app just like in the first method.

